
Clock Configuration
Return to Links to All Articles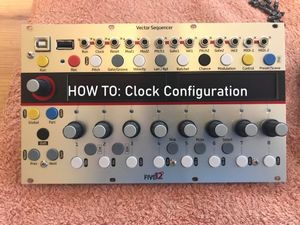
Objective
Configure your Vector as a MASTER or SLAVE to an external device.
Internal Clock / Sending to External Devices
- On the GLOBAL page use E4 to edit the SYNC setting to reflect your chosen clock source.
- Select INT (which means INTERNAL).
- The Vector wil clock itself and allow you to output the CLOCK to an external device via:
- RUN and RESET CV
- TRS MIDI
- USB A or USB B
- JE MIDI
- JE Trigger Outs
- Go to GLOBAL, hit NEXT twice to get to ROUTE and use E9 to progress to RUN, CLOCK, RESET 4/10
- Adjust your clock rate using E2, as well as your chosen reset increment.
- Remember to configure any settings on your external CLOCK destination device.
- Note: REC THRU mode does not work with any other clock setting. It requires an INTERNAL clock to be running.

External Clock / Receiving from External Device
- Any Clock setting other than INTERNAL requires an external clock source to be connected via USB, MIDI or CV.
- You can select an external clock source on the GLOBAL page using E4
- If you do not have a source connected, and you press RUN, then nothing will happen.
- The Vector will receive clock signals via your chosen input.
- If you go the ROUTE - RUN, CLOCK, RESET 4/10 page, RUN and CLOCK will be greyed out as they apply to INTERNAL clock only.
- You will still be able to configure a RESET variable using E3.
Enable MIDI SYNC OUTPUT
- Click Global once
- Use E9 to dial to MIDI SYNC OUT 2/5
- Use E1 to E5 to turn MIDI Sync ON or OFF for your target output
